Visual quality control
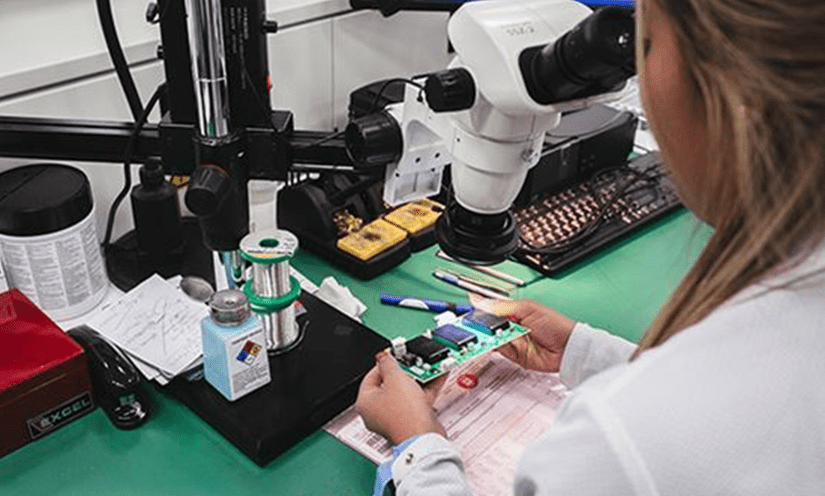
MOST ELECTRONICS can perform visual quality control of saturated boards.

Usually the quality assessment is performed according to the quality condition of the appearance of the solders made. It can apply several types of inspection and quality control:
– Principle of full inspection: visual or instrumental inspection (AOI) is accepted and the degree of inspection is 100%. This is justified in medium and large series with many expensive components complex topography of the board.
– Visual inspection. Visual inspection is simple and intuitive, as this is the main method for checking the quality of the appearance of the solders. The quality of the solders is visually checked with a magnifying glass with or without lighting with a magnification of 2-5 times. If difficult to distinguish, a magnifying glass with 10 or more magnifications may be used.

– Visual and manual test / measurement / or with other instruments on the solder joints with appropriate force or speed, relying on the visual sensations and the sensation of the hands, a comprehensive assessment of the quality of the solder joints can be obtained.
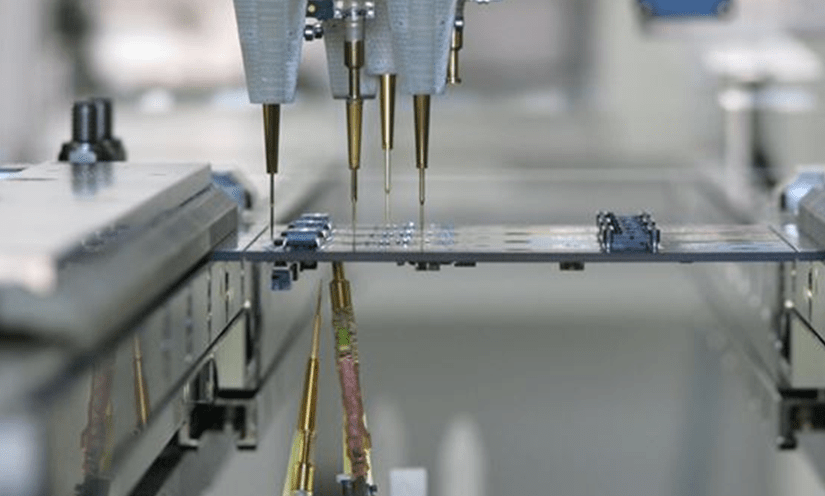
– Online testing. Online testing is an indirect method for assessing the quality of solders. During the assembly process, each component of the board is tested electrically. The test signal is applied to the combined node and the value of
the output response is measured to determine if there is a defect in the solder between the component and the board
– Special tests. Other tests can be performed by destructive sampling, such as metallographic analysis. If conditions allow, X-rays, 3D images, and laser infrared can also be used for testing thermal image.

